
Don’t you hate it when a webpage takes forever to load? I do too, so let’s look at one quick technique for reducing the load times for the webpages that you contribute to or manage so that your viewers will not suffer the same frustration. One of the reasons for slow-loading pages is that the images on them have not been optimized for online display. This common problem occurs when we post photos straight out of the digital camera onto the web without resizing them first, even if we will not need to view them at full-resolution online. Fortunately, many websites (e.g. Facebook, Flickr, WordPress) already make it a point to automatically resize and compress your images at the time of upload so that you don’t have to think about it. However, there remain many circumstances when having a basic knowledge of resizing will be useful, especially if you are working on your own website or want to control how large a version of a photo file you want to give to someone else (and to reduce the time it takes to email it to them). What follows is a brief tutorial on how to do this for free using any Windows or Mac computer with an Internet connection, using the free Photoshop Express Editor, which is part of the Photoshop Online Tools.
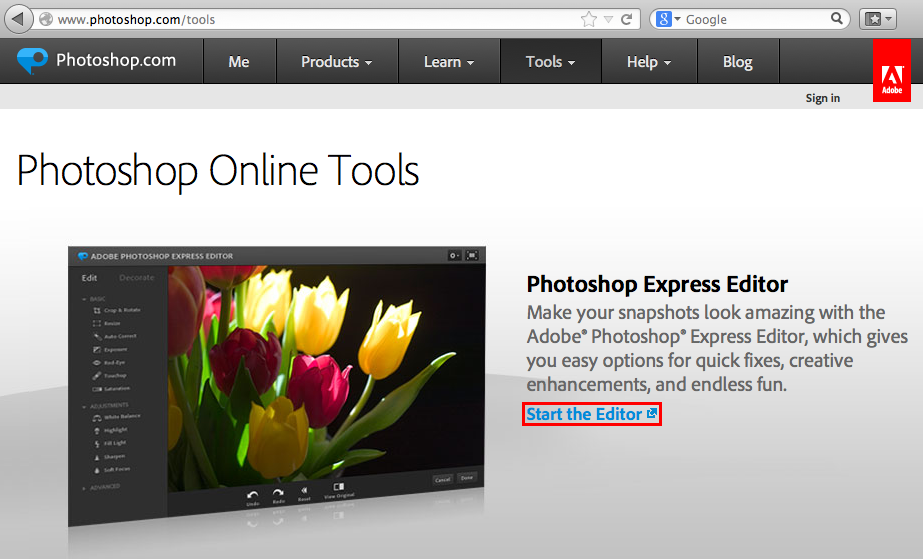
1. Launch a web browser and visit http://www.photoshop.com/tools to load the Photoshop Online Tools homepage. It should look like the screenshot below. From here, click the “Start the Editor” link, which is indicated in red. (If all you needed was a quick recommendation on which online tool to use for image resizing and you can take it from here, feel free to stop the tutorial and take it from here!)
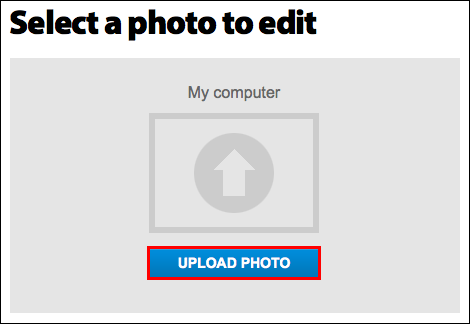
2. You should be prompted to select a photo to edit. Click the Upload Photo button to proceed. (If you are prompted to install Adobe Air for your browser to enable this web-based photo editing application to run, visit https://get.adobe.com/air to download and install Adobe Air, and then return here to complete the rest of the tutorial!)
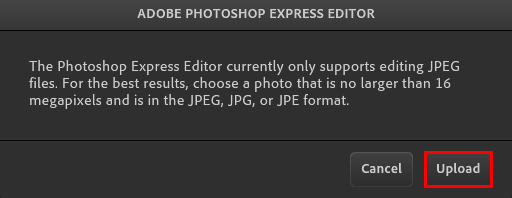
3. You may get a warning that, “the Photoshop Express Editor currently only supports JPEG files.” (So if your camera creates Raw image files, you will need to find a way to save those as JPG files first. We’ll leave that tutorial for another day!) Click the Upload button as shown below to open up the file browser. Select your photo file and then click OK.
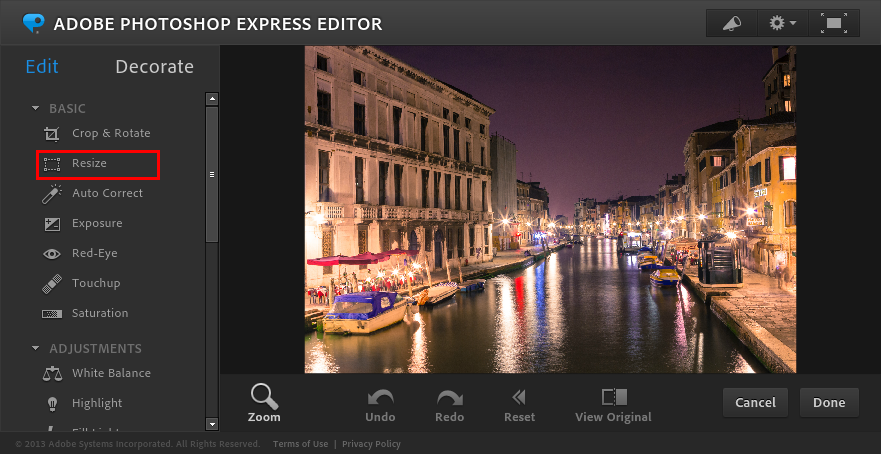
4. Your photo will load in the main editing window. As you can see on the left side of the interface, Photoshop Express Editor has many photo editing functions, and we will focus just on the Resize function in this tutorial. Click the Resize button to enter that module.
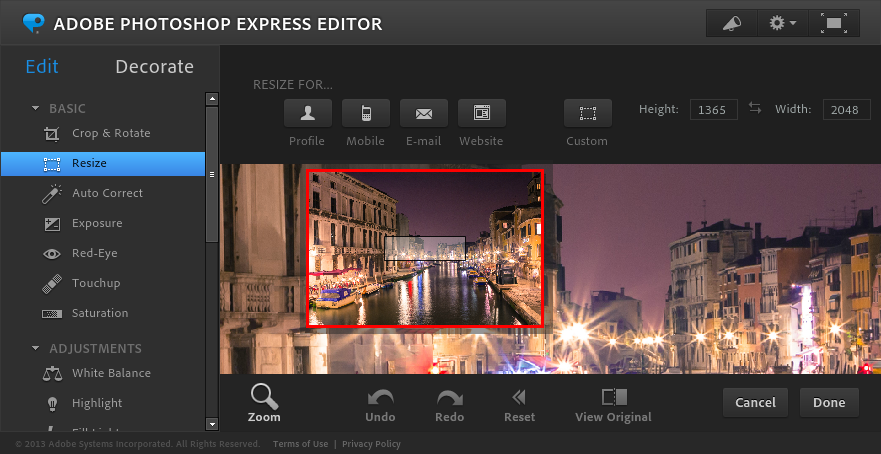
5. The box indicated in red is the Navigator window, which allows you to see a thumbnail of your entire image even if you are zoomed into the image. The smaller gray box in the Navigator window can be clicked and dragged to see the selected section in greater detail. Try out this optional step to get a feel for how this handy tool works. It will be particularly useful when you use the other editing functions available in Photoshop Express Editor.
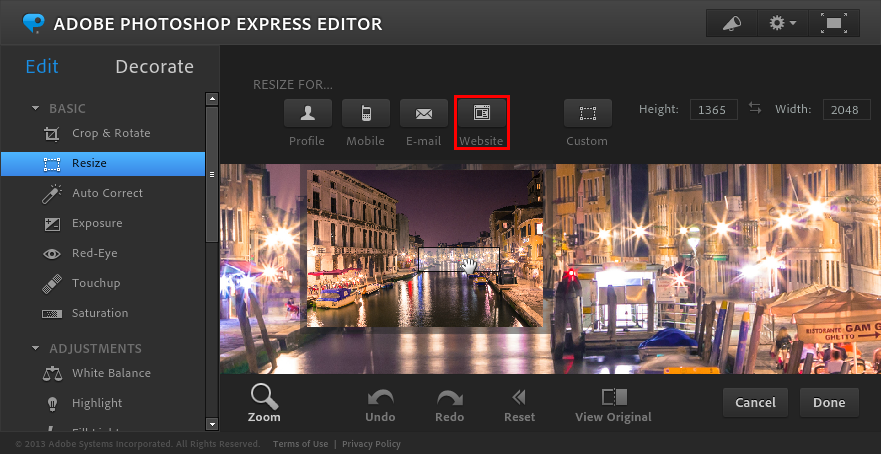
6. At the top of this same window, you will see some common resizing presets for Profile photos, Mobile devices, Email, and Website images. If you click on any of these, the maximum pixel dimensions will be set for your image. For example, the Website button will constrain the image to 800 pixels on the longest edge, which is generally as large an image as you would want for display on a website, since you need to account for users with browser windows of all sizes, including tablet users. Here is how each of the presets will constrain the longest edge of your image: Profile (150 pixels); Mobile (320 pixels); Email (640 pixels); Website (800 pixels). If none of the presets are appropriate for your needs, click the Custom button to set your own constraints for the pixel height or width. In this example, I clicked the Website button to constrain the image to 800 pixels.
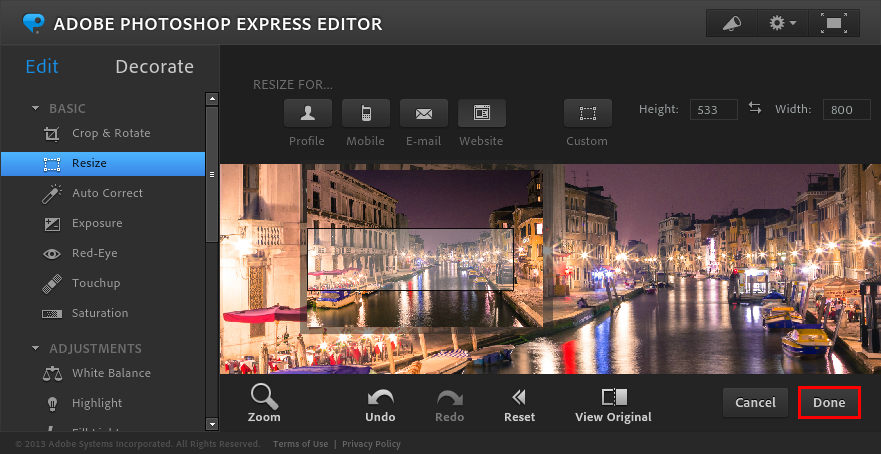
7. Once you define the pixel dimensions, you may notice the Navigator window update to show you a representation of the scale of your image. Click the Done button when you are ready to save a copy of your photo with the new edits.
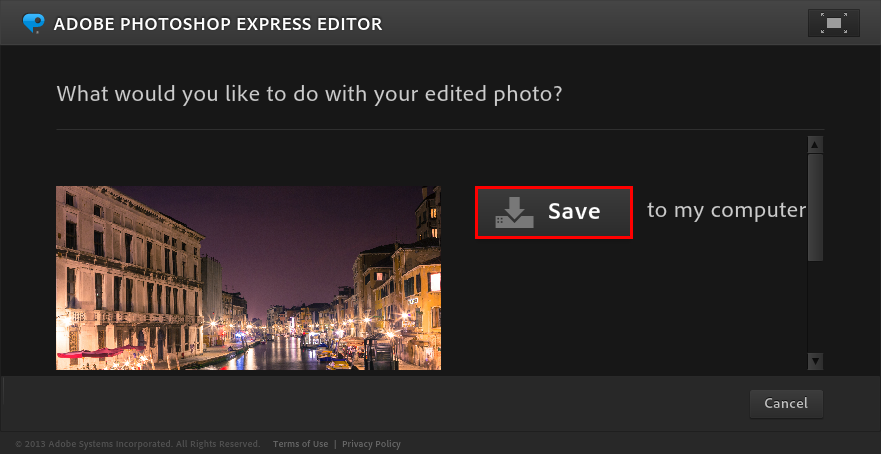
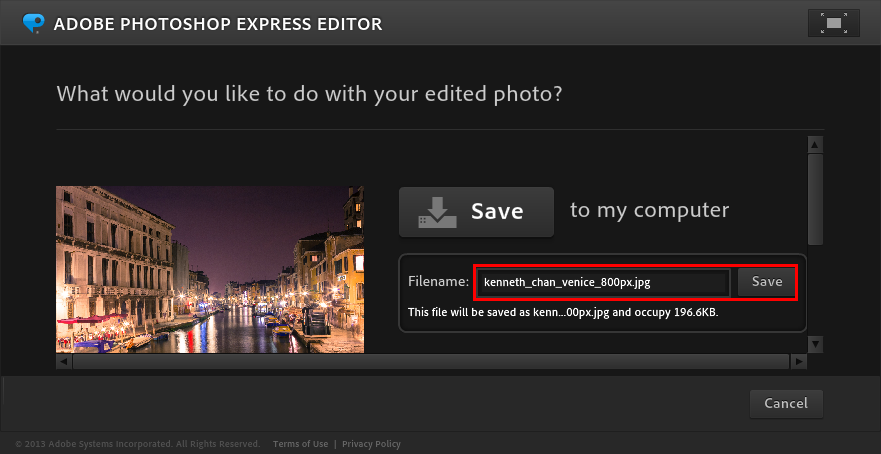
8. The application will ask you what you would like to do with your edited photo. Click the Save button to proceed.
9. You can now create a name for your new file. For photos that I am submitting to a publisher or someone else’s website, I prefer to list my name or initials, a short description of the image, and the longest edge of the image in pixels. In this example, the name of my new file is therefore kenneth_chan_venice_800px.jpg. Notice that the application will report how large the new file will be in kilobytes (KB) or megabytes (MB). The smaller, the better, so long as it serves your needs. Click the Save button to proceed.
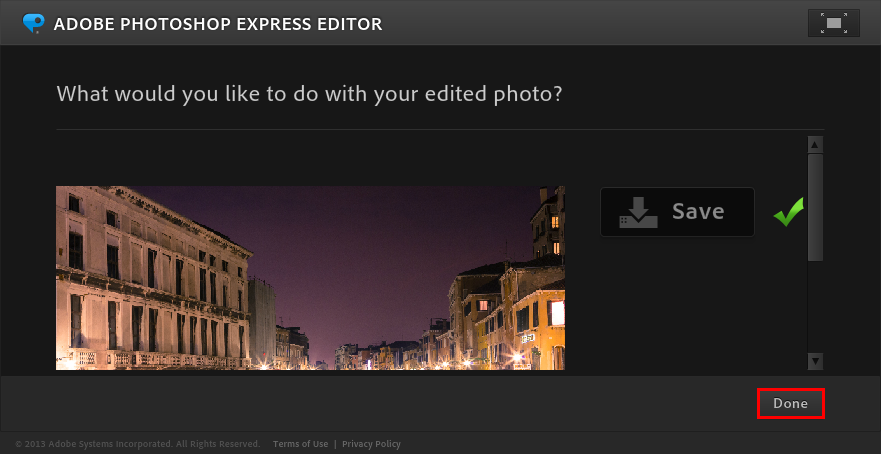
10. You will get a confirmation once the Save function is successful. Click the Done button to proceed.
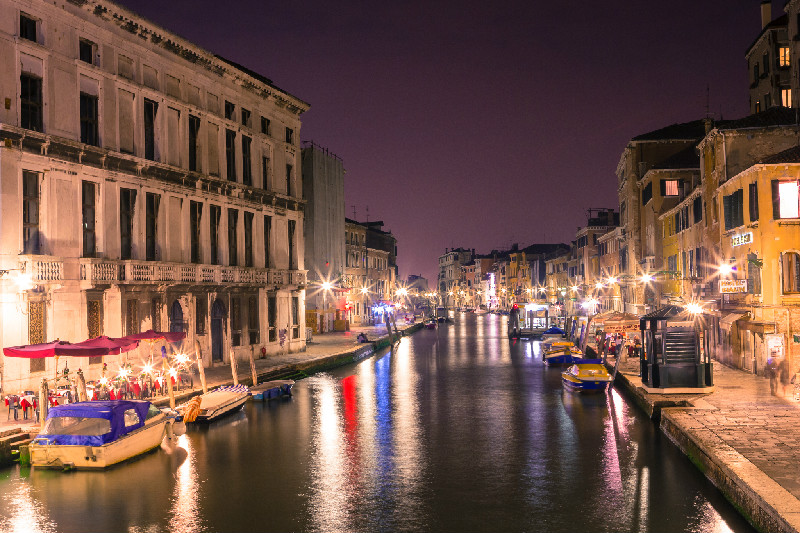
11. That’s it! Here’s my resulting photo, which has been constrained to 800 pixels so that it will display quickly for the web.
Ready to work on another photo? Visit http://www.photoshop.com/tools or click the Start the Editor link again!
Additional Considerations
Some of our readers may have some additional questions not covered in the basic tutorial above. They will be addressed below!
Q. What about dots-per-inch (dpi)? How come this resizing app doesn’t seem to address this parameter?
A. DPI is primarily relevant for printed materials. Whether you set your image to be, for example, 72 dpi or 300 dpi, it would still display the same nearly every display device (unless you’ve gone out of your way to configure your display device already, in which case you probably don’t need any help from me!). Most apps designed to help you create web graphics will automatically set images to be 72 dpi.
Q. Okay, so DPI doesn’t affect the image size on an electronic display, but my publisher still wants the file “at 300 dpi” for printing, so what do I do?
A. This is actually not too tricky, but does involve just a little bit of math. The main question you must first ask is, “What is that largest size that the final image will be printed?” Then you just multiply the target print dimensions by the dpi requirements. So if you need to print an image at 4″x6″ at 300 dots-per-inch (dpi), then your pixel dimensions need to be 1200 x 1600 pixels. If you need an 8″x10″ as your final product at 300 dpi, you would need to submit a 2400 x 3000 pixel image. Typical dpi requirements are 72 dpi for screen display only, 180 dpi for basic-quality prints, and 300 dpi for high-quality prints. (Incidentally, this accounts for why a lot of images look great on the web, but look blocky and pixelated when printed — they probably didn’t contain enough pixels to be printed well.)
Q. What if I’m required to submit an image that’s a maximum of 800 pixels on the longest edge, but I’m also told that it will need to be printable at 300 dpi? Can I do that in the same file?
A. It’s rare for a publisher to require both constraints so rigidly defined for a given image file, and here’s why: Let’s say the image was a total of 800 x 600 pixels in order to meet the pixel requirement. At 300 dpi, that image would print at 2.7 x 2 inches — barely bigger than a postage stamp! That’s probably not what the publisher really wants, and the awkward wording of the requirements likely stems from a misunderstanding about the relationship between pixel dimensions and print resolution in dpi. If you were preparing an image for both web and print media, it would be ideal to submit two versions of the image — one smaller version for the web, and one that is much larger for printing.